We have explored two ways to export data from the Vitek Observa system.
Option 1: Use the standard “Accession Report”
Option 2: Create a user-defined “List Report”
In principle, Option 1 would be simpler for the user to implement and more standardized between facilities. However, we have found it to be extremely slow, so we have decided to focus on the second approach.
Create a user-defined “List Report”’ - Summary
Step 1: Configure a new report format for “WHONET” with the desired data fields
Step 2: Choose the isolates that to export
Step 3: Export these isolates to a text file using the “WHONET” report format
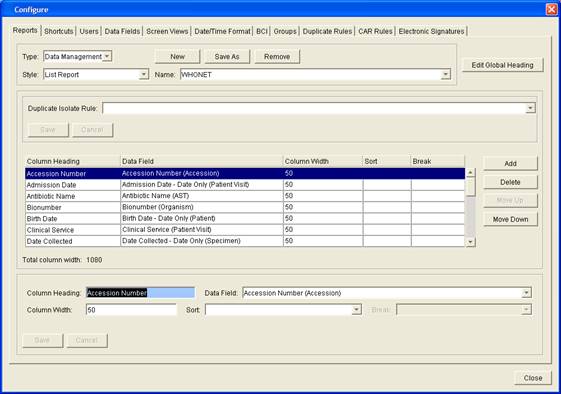
Step 1: Configure a new report format for “WHONET”
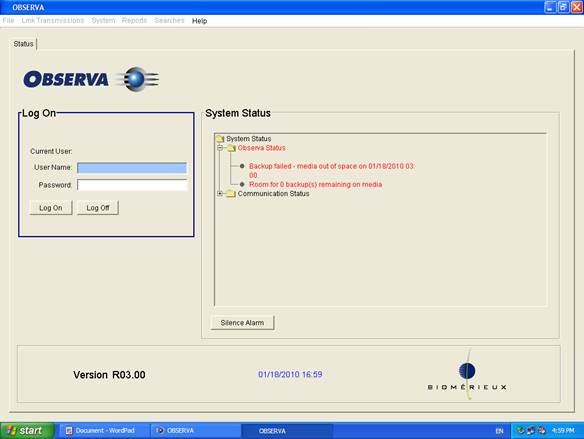
1.1 Log into Observa as an administrator/supervisor.
1.2 Click on “File”, “Configuration”, “Reports”,
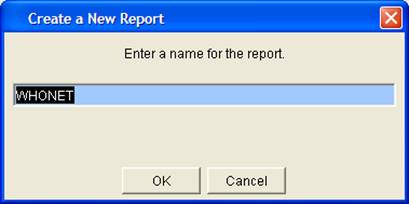
1.3 Click “New”. For the new report name, enter “WHONET”.
1.4 This will give you a blank report. For “Style”, select “List Report”
1.5 Click on “Add” to begin adding new data fields. From the list of “Data Fields”, select the fields listed below one at a time.
-- Choose a field from the drop down list
-- For column heading, enter the field names as given here
-- Click “Save”. This will move the selection to your list of data fields
-- Click “Add” to continue with the next field. (Note – it is easy to forget to click “Add”.
If you do, you will end up modifying the previous field. So please remember to click
“Save” and then “Add” to move onto the next field.)
Field list
Accession Number
Admission Date
Antibiotic Name
Bionumber
Birth Date
Clinical Service
Date Collected
Diameter
Final Category
Final MIC
First Name
Gender
Health Care Facility
Isolate Number
Location
Nursing Service
Organism Name
Patient ID
Probability
Source
Specimen Site
Test Type
The sequence of fields does not matter, and feel free to leave out fields that are of no interest to you. This configuration step only needs to be done one time to create a “WHONET” export format.
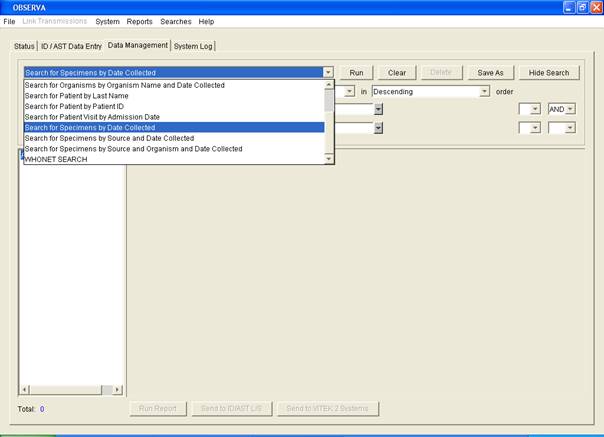
Step 2: Choose the isolates that you want to export
2.1 Click on “Reports”, “Data Management”
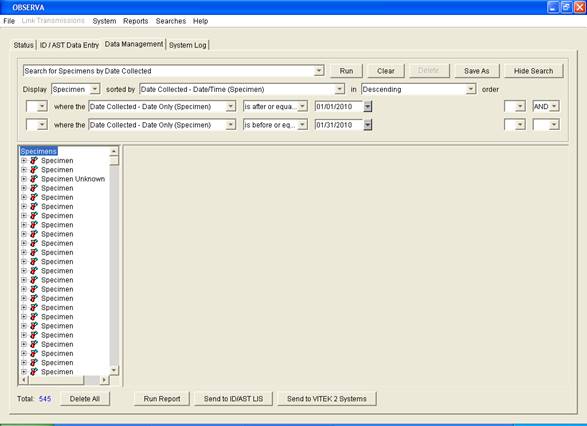
2.2 Select “Search for Specimens by Data Collected”. Enter the desired dates, for example 01/01/2010 through 01/31/2010. Note: Unfortunately, Observa has a maximum of 4000 samples that you can see at once. If you receive a message about “too many records”, please choose a shorter timer period and try again.
2.3 Click “Run”. This will generate a list of samples from the desired time period.
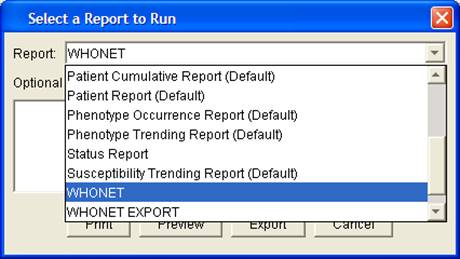
Step 3: Export these isolates to a text file using the “WHONET” report format
3.1 Click on “Run Report”.
3.2 Choose “WHONET” as the report format, and click “Export”.
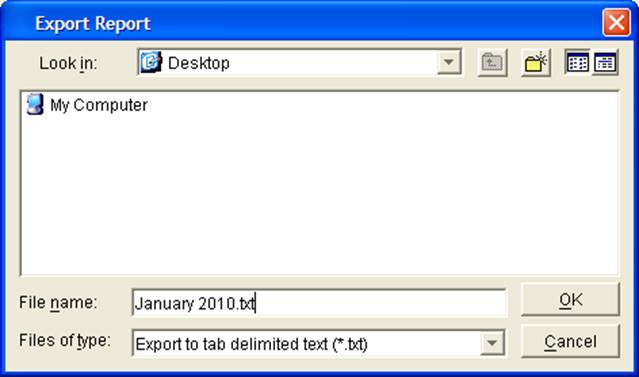
3.3 Choose a file name and location, for example “January 2010.txt”or “2010-01.txt”. For example, you can save the file to the desktop or directly to a USB Memory Stick. Click on “OK”’.
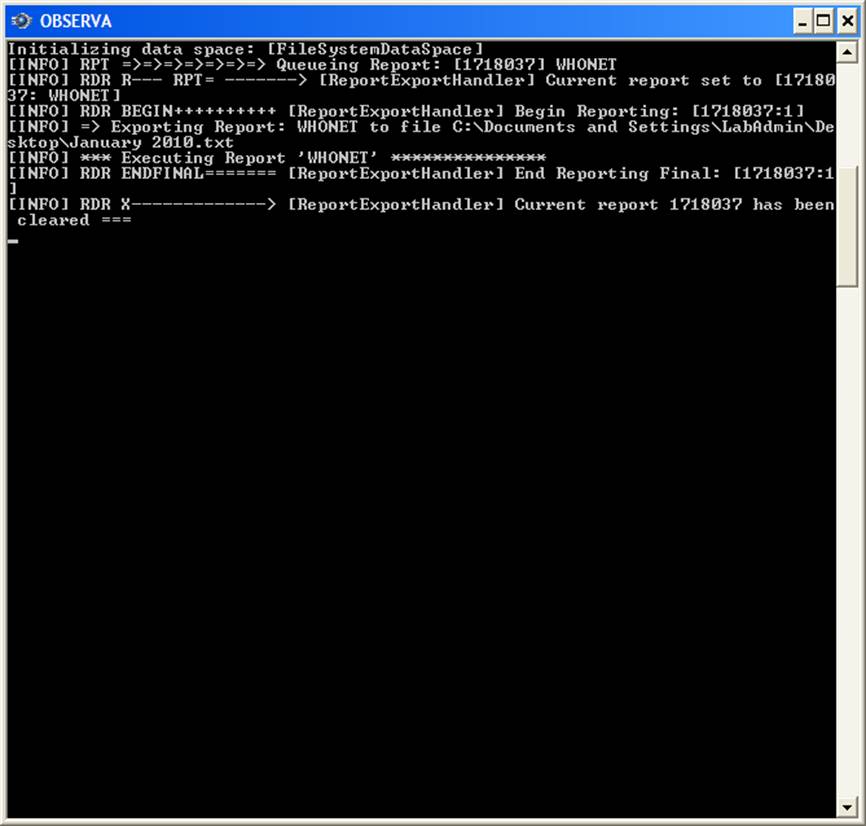
3.4 This may take several minutes to run, for example 5-10 minutes. When it is finished, unfortunately, you do not receive a confirmation from Observa. If you wait sufficient, time then it will eventually finish. If you want a direct confirmation that the file is finished, click on the Observa “log”window. You will eventually see a message similar to “Current report 99999 has been cleared”. This message indicates that the file export has been completed.
If you have more data that you would like to export, return to Step 2 and choose a new time period. Note: Remember to click “Run” to update the list of specimens. If you forget to do this, Observa will continue with the same list of specimens that you had previously.
Figures
Step 1.1
Step 1.3
Step 1.4
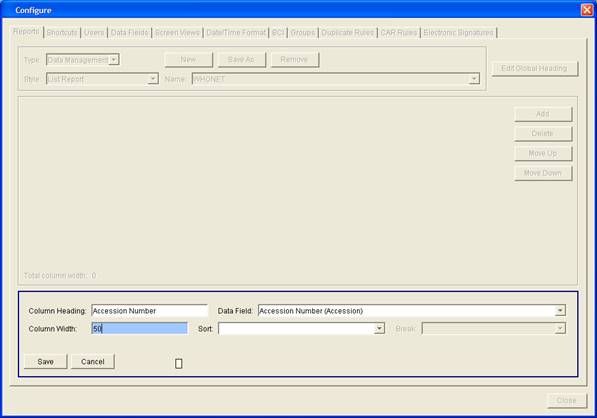
Step 1.5
Step 2.2
Step 2.3
Step 2.5
Step 2.6
Step 3.4